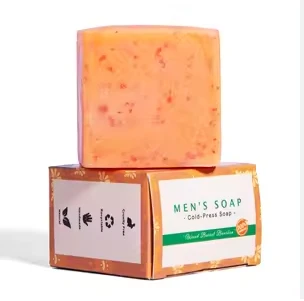
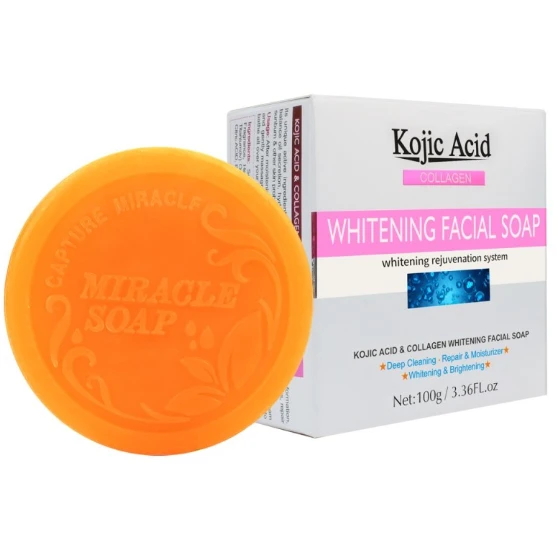
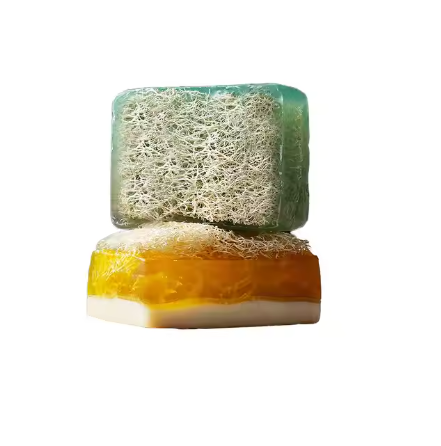
How to Handmade Soap: Step-by-Step Guide & Private Label OEM by Poleview
Why Make Handmade Soap?
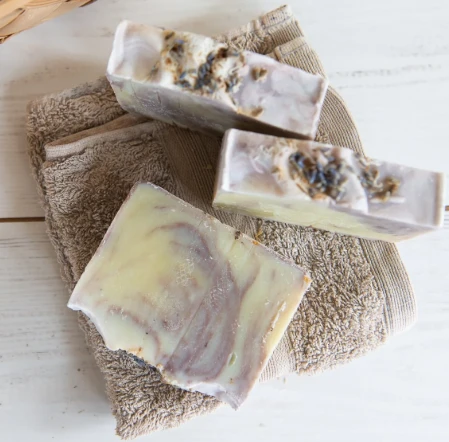
In recent years, handmade soap has become more than just a hobby — it’s now a growing trend embraced by wellness seekers, eco-conscious consumers, and indie beauty brands alike. More and more people are choosing natural, handmade soaps over commercial ones because they are more aware of skin health, chemical-free recipes, and living in a way that doesn't harm the environment.
When you make your own soap, you can choose exactly what gets on your skin. You can choose each component to fit your skin's demands or your own tastes. For example, you can use olive oil to moisturize or lavender essential oil to calm your skin. People with sensitive skin or allergies can use handcrafted soap instead of mass-produced goods, which frequently don't have the same soft, customizable qualities.

Handmade soap isn't just for personal use; it may also lead to inventive business ideas. Handmade soap is a great way to start your own skincare line or a boutique gift brand because it's easy to get into and you can make it different from other brands.
At Poleview Biotechnology Co., Ltd., we've helped hundreds of small enterprises and people who want to start their own businesses transform their love of manufacturing soap into real businesses. We are a competent soap OEM/ODM manufacturer situated in China. We specialize in using natural ingredients, developing private labels, and making small batches to help independent companies go from idea to launch.
This tutorial will show you all you need to know, whether you want to learn how to make Cold Process Soap or how to make your own brand's soap.
Handmade Soap: What It Is & Why It Matters
When making handmade soap, people normally use natural oils, butters, and a saponifying agent, which is frequently sodium hydroxide (lye). They do this by methods including cold process, hot process, or melt-and-pour. Handmade soap keeps the naturally formed glycerin, which is a strong moisturizer for the skin. This is different from store-bought soaps that frequently have harsh detergents, synthetic perfumes, or fillers.
There are three main ways to make handmade soap:
Cold process soap is the most preferred method among craftspeople. It gives you complete control over the design and components. It takes 4 to 6 weeks for the soap to solidify and become less harsh.
Hot process soap is like cold process soap, except it uses heat to speed up the saponification process. It gives things a rough feel and makes them easier to use.
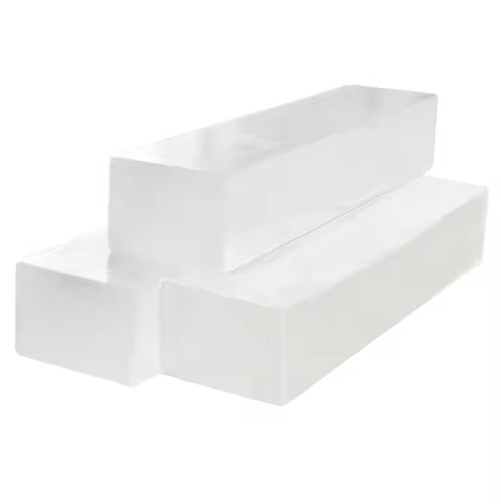
Melt-and-pour soap is great for people who are just starting out. You melt down pre-made Soap Bases and add colors, perfumes, and other things to them. You don't have to touch lye.
Depending on your goals—learning the art, making custom gifts, or getting ready for private label production—each method has its own benefits.
We at Poleview Biotechnology support all three techniques by giving you Natural Soap bases, bulk soap materials, and help with making your own soap. We help you find the right balance between creative freedom and production consistency, whether you're trying things out at home or making a hallmark line.
Knowing these principles is important for making smart decisions about components, how big your production is, and, in the end, your brand identity.
Essential Ingredients & Tools to Get Started
To make your own soap, you need to know the basics: natural ingredients, a few good tools, and the appropriate way to do it. The materials you choose will directly effect the quality and identity of your soap, whether you're a DIYer or a brand founder exploring early recipes.
The main ingredients you will need
Three main parts make up most handcrafted soaps:
- Natural oils and butters such as olive oil, coconut oil, and shea butter. Olive oil offers gentleness and hydration, coconut oil creates rich lather and deep cleansing, while shea butter enhances skin softness and nourishment. The right combination defines how your soap feels and performs.
- Lye (sodium hydroxide) is the essential agent that enables saponification—the chemical reaction that turns oils into soap. When used with care and proper protection, lye is completely safe and effective.
- Distilled water, which helps dissolve the lye and allows for a smooth blend with your oils.
You can add functional ingredients to your soap to make it stand out. For example, you can include essential oils for scent, natural colorants like clays or charcoal, and exfoliants like oatmeal or plants. These options don't simply change how the soap appears; they also impact how it works on skin and how it makes you feel.
We provide a wide range of natural oils, pre-made soap bases, and custom ingredient kits at Poleview Biotechnology. These are perfect for small firms or producers who want to try something new. If you're thinking about making handmade soap, we can also help you make sure your recipes are in line with market trends or the rules in your area.
Tools That Make the Process Easier
Soap-making doesn’t require heavy machinery. These are the essentials:
- A digital scale to ensure precise ingredient ratios
- A stick blender to emulsify oils and lye quickly
- Mixing bowls made of stainless steel or high-quality plastic
- A thermometer to monitor lye and oil temperatures during blending
- Silicone molds for shaping your soap into neat, professional bars
- Gloves and goggles for safety while handling lye
Poleview also helps you get started with more than just ingredients. We offer starter kits, bespoke soap molds, and even packaging that is ready for branding to help you get your business off the ground faster. We have the tools to make the process easier and more professional, whether you're just starting out or expanding a product line.
Step-by-Step: How to Make Handmade Soap (Cold Process)
Both artisans and small brands like cold process soap-making because it lets them control all the ingredients and make a natural end product. The procedure is simple and makes high-quality, long-lasting soap bars, although it does take time to cure.
Cold Process Soap-Making Steps:
1. Get your items ready and measure them
To get the exact amount of oils and butters like olive oil, coconut oil, and shea butter, use a digital scale. If you want your soap to be well-balanced and good for your skin, you need to be precise.
2. Combine the lye solution
To keep from splashing, slowly add sodium hydroxide (lye) to distilled water while wearing gloves and goggles. Never do the other way around. Stir until everything is gone and let it cool.
3. Heat the oils and mix them together.
Warm your oils gently until they are liquid, then cool both the oils and the lye to roughly 38–43°C (100–110°F) before mixing.
4. Mix until "trace"
Put the lye solution in the oils and mix it with a stick blender. When the mixture is thick like pudding, it has achieved trace, which means it's ready for extras.
5. Add color, scent, or plants
At trace, add your herbs, clays, essential oils, or exfoliants. This is when creativity comes into play. Each component gives the soap its own individuality.
6. Pour into molds
Put the mixture into silicone molds. To get rid of air bubbles and smooth out the surface, lightly tap it.
7. Let it sit and get hard.
Put a cover over the mold and leave it alone for 24 to 48 hours. Once the soap has solidified, take it out of the mold and cut it into bars if you need to.
8. Let the soap dry
Put the bars in a place where there is good air flow for 4 to 6 weeks. This lets extra water evaporate allowing the soap to completely saponify, making it soft and long-lasting.
Troubleshooting & Tips for Better Results
Even expert soap makers have problems from time to time, but most of them are easy to avoid with a few simple changes. If you're a hobbyist or getting ready to make your first batch under a private label, knowing how to fix problems can save you time and supplies.
Common Cold Process Soap Issues & Solutions
The soap is too soft or doesn't solidify the way it should.
This frequently happens when there is too much water or the oils weren't metered correctly. To correct this, check the ratios in your recipe again and give the food more time to cure. Harder oils, like coconut or palm oil, can also make things firmer.
Soap has oil pockets or separates
Pouring too soon or not mixing enough can cause this. Before adding to the mold, make sure you get a good "trace." A stick blender helps make sure that the emulsification is equal.
The scent faded or went away.
If you add essential oils too soon or in little amounts, they could lose their power. To keep the aroma, apply perfumes in a light to medium amount and use usage-rate calculators to make sure you don't under-dose.
Cracks or ash on the surface
Soda ash or fissures on the surface can happen when it gets too hot or the temperature changes too quickly. Try to insulate your molds uniformly, and use plastic wrap to keep the ash from getting on them.
Soap with a lot of lye or that makes you itch
If the soap feels rough, it can have too much lye in it since you didn't measure it right. Before using your bars, always use a lye calculator and check the pH.
Why Choose Poleview for Private Label Handmade Soap
Starting your own brand of handcrafted soap is a fascinating path that combines business sense, creativity, and quality. It is very important to choose the correct manufacturing partner if you want to make your vision a reality quickly and professionally.
Poleview Biotechnology is a well-known expert in the handcrafted soap business. They offer a wide range of private label and OEM services that are tailored to your specific demands. Our skilled research and development staff works together with you to create unique formulas that fit with your brand's values, whether you want natural components, certain scents, or new textures.

We take pleasure in getting the best raw ingredients and following strict quality control requirements. This makes sure that every bar that leaves our factory satisfies high criteria for safety, effectiveness, and appeal. In addition to making things, Poleview helps with bespoke packaging and following the rules, so you can be sure you're doing business in complicated markets.
If you're a small artisan looking to grow or a new brand hitting the market, working with Poleview gives you access to the latest technology, personalized service, and production runs that can grow with your business.
To start your own handcrafted soap brand, get in touch with Poleview Biotechnology immediately. Let's make amazing soap that your customers will love and trust.
FAQ – Common Questions About Handmade Soap Making
Q: How long does it take to make and cure handmade soap?
A: Handmade cold process soap requires about 24 to 48 hours to harden in the mold, followed by a curing period of 4 to 6 weeks. This curing time allows excess water to evaporate and ensures the soap is gentle and long-lasting.
Q: Is handling lye dangerous for beginners?
A: Lye (sodium hydroxide) is a caustic substance but is safe to use with proper precautions. Always wear gloves, goggles, and work in a well-ventilated area. Accurate measurement and careful handling are key to safe soap-making.
Q: Can I customize the scent and color of my handmade soap?
A: Yes! Handmade soap is highly customizable. You can add natural essential oils for fragrance and use natural colorants like clays or botanical powders to create unique looks. Poleview offers a wide range of additives and can assist with custom formulations.
Q: What if I want to start my own soap brand but don’t want to make soap myself?
A: Poleview Biotechnology provides professional OEM and private label soap manufacturing services. We can produce high-quality handmade soap according to your specifications, handle packaging, and ensure compliance with regulations.
Q: How do I ensure my soap is safe and skin-friendly?
A: Using balanced recipes calculated with reliable soap calculators, sourcing quality raw materials, and testing pH levels after curing are essential steps. Poleview’s R&D team helps clients optimize formulations for safety and skin compatibility.
Q: What equipment do I need to start making soap at home?
A: Basic tools include a digital scale, mixing bowls, a stick blender, thermometer, silicone molds, and safety gear like gloves and goggles. Poleview also offers starter kits that bundle these essentials for beginners.

