There's something quietly satisfying about washing your hands with a bar of soap you made yourself. You picked the oils, chose the scent, and watched plain liquid turn into something solid and beautiful. It feels a little like magic, and the good news is that it's far easier to learn than most people expect.
This guide walks you through everything from the simplest no-fuss method to the traditional craft that soap enthusiasts adore. Whether you want a rainy-afternoon project or a new lifelong hobby, you'll find a starting point here.
Why Make Your Own Soap?
Homemade soap gives you something the grocery store shelf rarely does: complete control. You decide exactly what touches your skin, from the base oils down to the last drop of fragrance.
It's also a creative outlet. Swirls of color, layered scents, and custom shapes turn a practical necessity into a small act of self-expression. And once you've made a batch or two, the cost per bar often drops below what you'd pay for a decent artisan soap.
Benefits Over Store-Bought Bars
Many commercial "soaps" are actually detergent bars, and manufacturers frequently remove the naturally occurring glycerin to sell separately. Glycerin is a humectant that draws moisture to your skin, so keeping it in your bar is a genuine perk of the handmade approach.
You also get full ingredient transparency. No mystery labels, no fillers you can't pronounce. If you have sensitive skin or specific preferences, you can build a recipe around exactly what works for you.
Is It Really Worth the Effort?
Let's be honest about the time. The easiest method takes under an hour of hands-on work, while the traditional method needs about an hour of prep plus a waiting period before the bars are ready. That's a real commitment, but it's mostly patience rather than labor.
Here's a rough cost comparison to put things in perspective:
| Option | Approximate Cost Per Bar | Effort Level |
|---|---|---|
| Mass-market store soap | $1 – $3 | None |
| Artisan store soap | $6 – $12 | None |
| Homemade (after supplies) | $1 – $2.50 | Moderate |
Once you own the basic tools, each new batch gets cheaper. For many people, the creativity and quality make the effort more than worthwhile.
Understanding the Two Main Methods
Before you buy anything, it helps to know which path fits your comfort level. There are two popular routes into this craft, and neither is wrong. Pick the one that matches how adventurous you're feeling.
Melt and Pour Soap Base (Easiest Start)
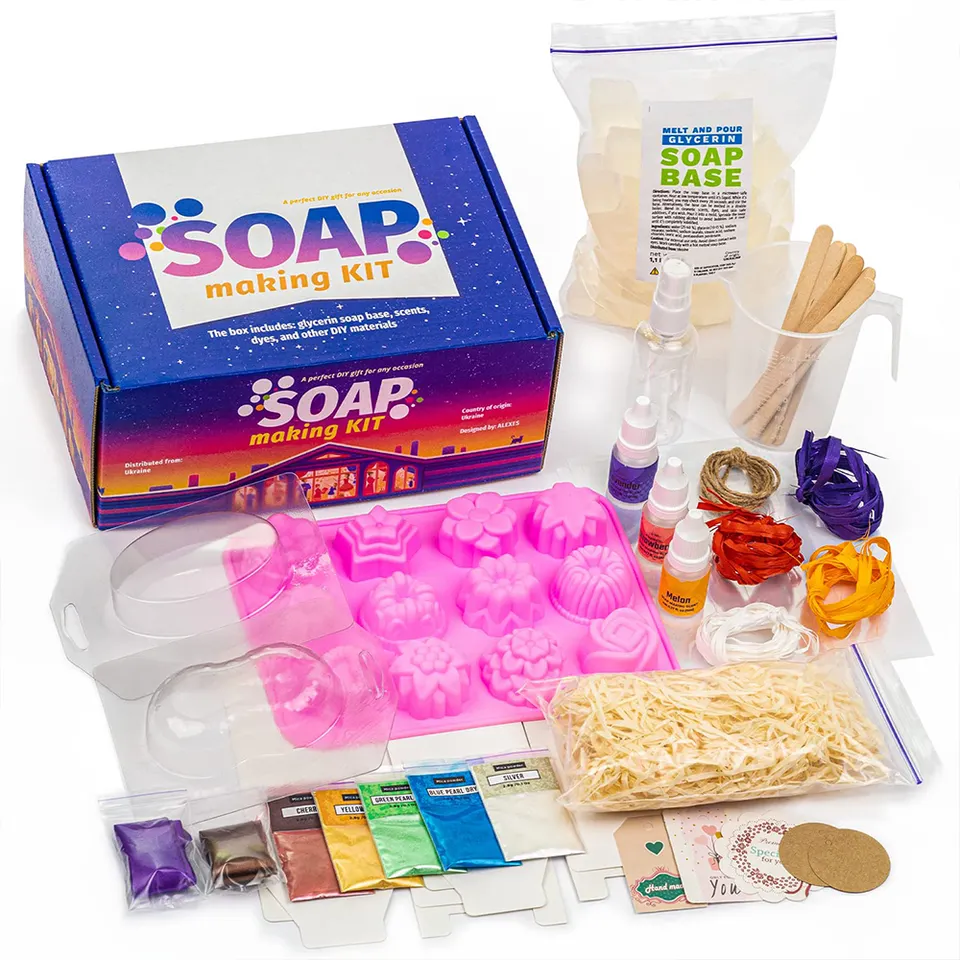
The melt and pour soap base is pre-made soap you simply melt, customize, and pour into a mold. The tricky chemistry has already been done for you, so there's no handling of caustic ingredients at all.
This method is ideal for absolute beginners, kids' projects, or anyone who wants finished bars in a single afternoon. You still get to add colors, scents, and fun extras, so it feels genuinely creative rather than like cheating.
Cold Process Soap (The Traditional Craft)
Cold process soap making is the method soapmakers have used for centuries. You combine lye and oils for soap, trigger a chemical reaction called saponification, and pour the raw batter into molds to harden and cure.
It takes more care and a longer wait, but it rewards you with total control over every ingredient. Enthusiasts love it precisely because they build each bar from scratch, choosing oils for hardness, lather, and skin feel.
Method Comparison Table
| Method | Difficulty | Lye Required | Cure Time | Best For |
|---|---|---|---|---|
| Melt & Pour | Easy | No | None | Absolute beginners |
| Cold Process | Moderate | Yes | 4–6 weeks | Full customization |
| Hot Process | Moderate | Yes | 1–2 weeks | Faster cold-process alternative |
What You'll Need: Tools and Ingredients
Gathering your supplies before you start makes the whole process smoother. You don't need a professional workshop, just a few reliable tools and quality ingredients.
Essential Equipment
- Digital kitchen scale — soap recipes are measured by weight, not volume, so this is non-negotiable.
- Stick blender — the fastest way to bring cold process batter to trace.
- Thermometer — an instant-read or candy thermometer keeps your temperatures on track.
- Heat-safe containers — stainless steel or heavy plastic, never aluminum.
- Silicone or lined molds — for easy release once the soap sets.
- Safety gear — gloves and eye protection, especially for cold process.
Keep a dedicated set of tools for soapmaking rather than reusing them for food. It's a small habit that keeps everything tidy and worry-free.
Understanding Lye and Oils for Soap
Lye (sodium hydroxide) is the ingredient that scares newcomers, so let's demystify it. On its own, lye is caustic and must be respected. But soap simply cannot exist without it or a similar alkali.
When lye meets oils, a reaction called saponification transforms both into soap and glycerin. A properly formulated recipe uses up all the lye in this reaction, which means the finished, cured bar contains no active lye at all. The chemistry does its job and leaves you with something gentle.
Melt and pour users get a shortcut here: the base has already gone through saponification, so no lye handling is required on your end.
Common Oils and Their Properties Table
| Oil | Adds to Soap | Recommended % |
|---|---|---|
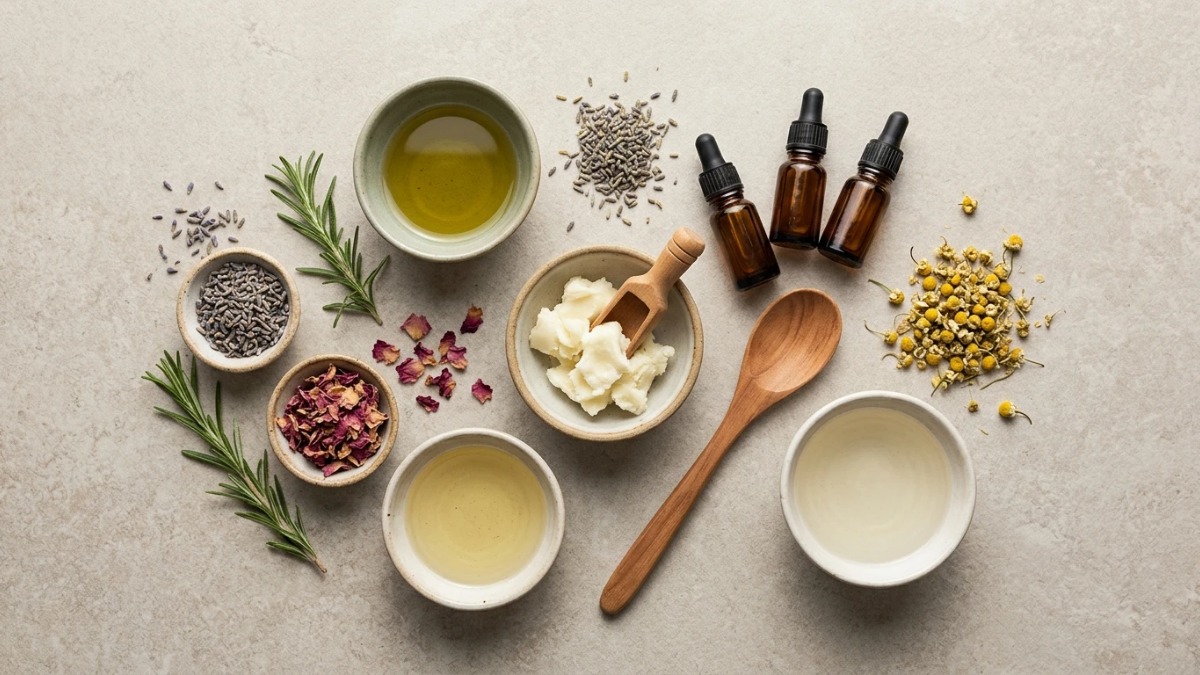
| Olive Oil | Gentle, conditioning lather | 40–60% |
| Coconut Oil | Hard bar, big bubbles | 20–30% |
| Palm Oil (or shea/lard) | Hardness, stable lather | 20–30% |
| Castor Oil | Creamy, boosted lather | 5–10% |
Each oil brings a different quality to the bar. A balanced blend gives you a soap that's hard enough to last, bubbly enough to feel luxurious, and gentle enough for everyday use.
Safety First: Working With Lye
This section applies mainly to cold and hot process soap. It's not meant to frighten you. Millions of people handle lye safely every year, and a few simple habits keep you protected.
Protective Gear and Workspace Setup
Always wear gloves and eye protection when working with lye. Long sleeves add another layer of defense against splashes.
Work in a well-ventilated area. Mixing lye with water briefly releases fumes you don't want to breathe in. Keep children and pets out of the room entirely, and clear your counter of clutter so nothing gets knocked over.
What to Do If Something Spills
If lye solution touches your skin, rinse the area with plenty of cool running water for several minutes. Skip the old vinegar advice for skin contact; flushing with water is the safer first response.
For spills on surfaces, put on your gloves, blot up the liquid with paper towels, and rinse the area thoroughly. If any lye gets near your eyes, flush with water immediately and seek medical attention. Keeping a calm plan in mind makes accidents far less stressful.
Step-by-Step: Melt and Pour Method
Ready to make your very first bar today? This is the friendliest way to start, and it's a great confidence-builder before tackling anything more advanced.
Cutting and Melting the Base
Slice your melt and pour soap base into small, even cubes so it melts uniformly. Place the cubes in a microwave-safe bowl and heat in short 20 to 30 second bursts, stirring between each.
You want the base fully liquid but not boiling. Overheating can scorch it and ruin the texture, so go slow and stir often.
Adding Color, Fragrance, and Extras
Once melted, stir in soap-safe colorant a few drops at a time until you like the shade. Add fragrance or essential oil next, typically around one to two teaspoons per pound of base.
Extras like dried flowers, oatmeal, or a pinch of exfoliant can go in now too. Work quickly, since the base begins to set as it cools.
Pouring and Setting
Pour the mixture into your molds in a smooth, steady stream. Spritz the top with rubbing alcohol to pop any surface bubbles for a cleaner finish.
Let the bars sit undisturbed for one to two hours, or until fully firm. Pop them out of the mold, and they're ready to use right away. No curing required.
Step-by-Step: Cold Process Soap Recipe
Once you're comfortable, cold process is where the real craft begins. Here's a simple, reliable homemade soap recipe designed for first-timers. Always run any recipe through an online lye calculator before mixing to confirm your amounts.
Measuring and Mixing the Lye Solution
Weigh your water into a heat-safe container, then weigh your lye separately. Always add the lye to the water, never the reverse, to avoid a dangerous eruption.
Stir gently until the lye dissolves. The mixture will heat up and turn cloudy, so set it aside in a safe spot to cool to around 100–110°F (38–43°C).
Preparing and Combining the Oils
While the lye cools, weigh and melt your solid oils, then stir in your liquid oils. Aim to bring the combined oils to roughly the same temperature as your lye solution.
Matching temperatures helps the two blend smoothly and reduces the chance of a lumpy or separated batch. A little patience here pays off.
Reaching Trace With a Stick Blender
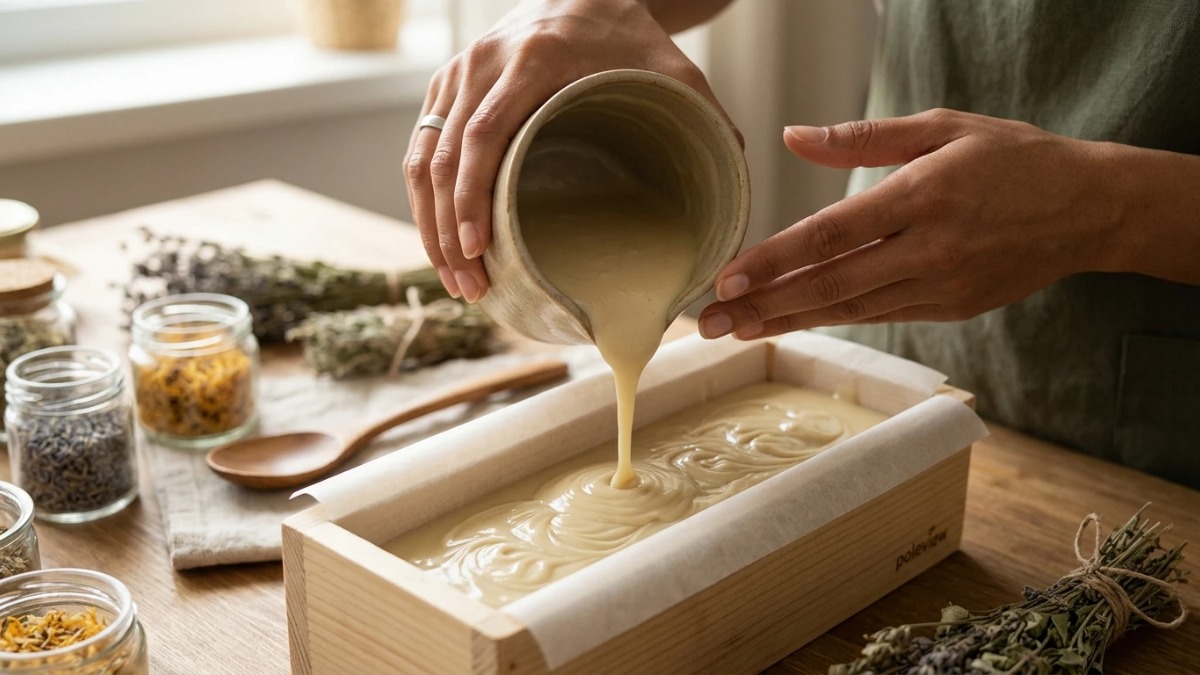
Slowly pour the cooled lye solution into your oils, then use a stick blender in short pulses. Within a few minutes the mixture thickens.
You're looking for "trace," the point where the batter is thick enough that a drizzle leaves a faint trail on the surface before sinking back in. Think of thin pudding or a loose custard. That's your signal that saponification is underway.
Adding Fragrance, Color, and Molding
At light trace, stir in your fragrance and any natural colorants. Work efficiently, because the batter continues to thicken.
Pour it into your mold, tap it gently on the counter to release air pockets, and cover it lightly. Let it rest for 24 to 48 hours before unmolding and cutting into bars.
Curing and Storing Your Handmade Soap
Your bars look finished after cutting, but they're not quite ready. This is where patience separates a good bar from a great one.
Why Curing Handmade Soap Matters
Curing handmade soap is the resting period that lets excess water evaporate and the bar's chemistry finish stabilizing. A well-cured bar is harder, milder, and lasts significantly longer in the shower.
Skipping the cure gives you a soft, short-lived bar that may feel harsh. The wait is genuinely worth it.
Curing Timeline Table
| Week | What's Happening | Ready to Use? |
|---|---|---|
| Week 1 | Excess water evaporating | No |
| Weeks 2–3 | Bar hardening | Not yet |
| Weeks 4–6 | pH stabilizing, mildness improving | Yes |
Proper Storage Tips
Cure and store your bars in a cool, dry spot with good air circulation. A wire rack or a shelf lined with breathable paper works nicely.
Skip humid spaces like bathrooms for long-term storage. Cured and stored properly, most bars stay good for a year or more, though the scent may soften over time.
Natural Soap Recipes for Beginners
Once you've got the basics down, these natural soap recipes for beginners are fun ways to branch out. Each is a simple twist on your standard batch.
Gentle Oatmeal and Honey Bar
Stir a tablespoon of finely ground oatmeal and a teaspoon of honey per pound of oils into your batter at trace. Oatmeal adds gentle exfoliation. Honey brings a soft, natural sweetness and boosts lather. It's a soothing choice for sensitive or dry skin.
Lavender Relaxation Bar
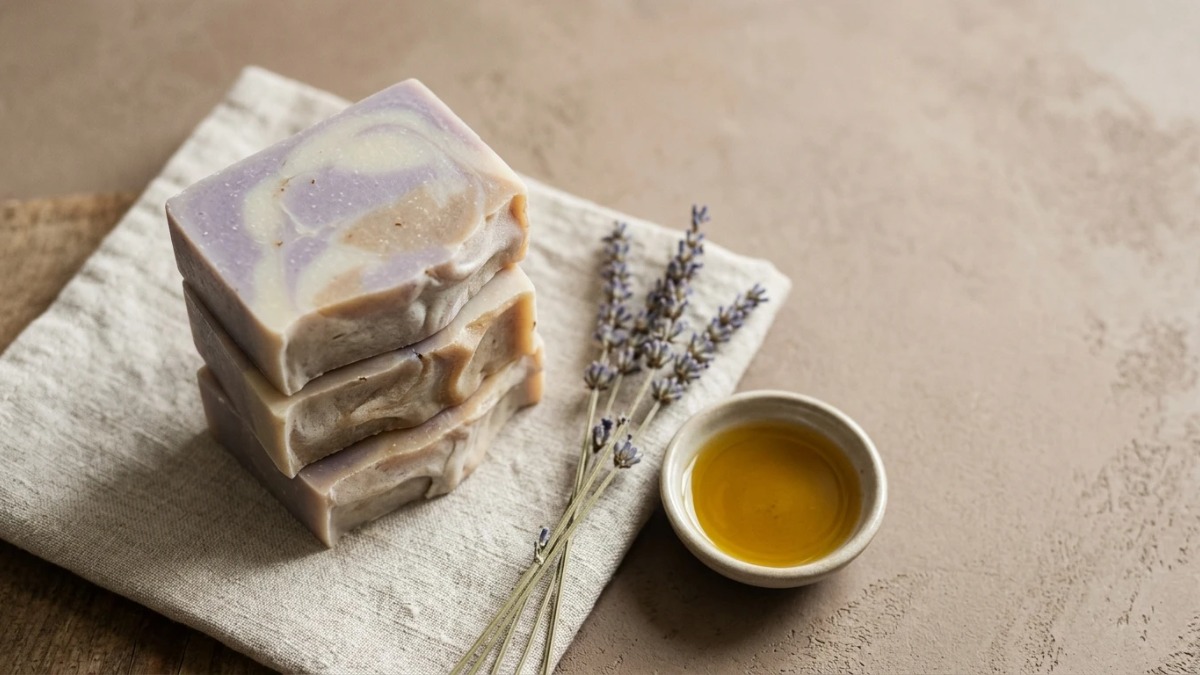
Add lavender essential oil at trace, roughly 0.5 to 0.7 ounces per pound of oils. A sprinkle of dried lavender buds on top adds a lovely finishing touch. The calming scent makes this a favorite for evening routines.
Charcoal Detox Bar
Blend a teaspoon of activated charcoal per pound of oils into your batter for a striking deep-gray bar. Charcoal is prized for its clarifying feel, which makes this a popular option for oily or acne-prone skin. The dramatic color also looks impressive as a gift.
Troubleshooting Common Problems
Every soapmaker hits a snag eventually. Don't let a wonky first batch discourage you. Most problems are easy to understand and simple to prevent next time.
Why Is My Soap Crumbly, Oily, or Streaky?
A crumbly bar often means too much lye or a batch that overheated. Double-check your measurements with a scale and a lye calculator before your next attempt.
Oily pockets or a greasy film usually point to unmixed batter that didn't reach full trace, or to too little lye. Blend more thoroughly next time and confirm your recipe's numbers.
Streaks and uneven color typically come from stirring in colorant too late or unevenly. Add colorants at light trace and mix well for a smooth, consistent look. When in doubt, keep notes on each batch so you can spot patterns.
Frequently Asked Questions
Is homemade soap safe if it contains lye?
Yes. During saponification, the lye reacts completely with the oils, and no active lye remains in a properly made, fully cured bar. The finished soap is gentle and safe for everyday use, which is why lye-based soap has been made this way for generations.
How long does homemade soap last?
A properly cured and stored bar generally lasts a year or more before use. The soap doesn't spoil like food, but fragrance can fade and oils may eventually turn if exposed to heat or humidity. Store bars somewhere cool and dry to keep them at their best.
Can I make soap without lye?
In a sense, yes. Using a melt and pour soap base lets you skip lye handling entirely because the base has already been saponified for you. True from-scratch soap always requires lye at some stage, but with melt and pour, that step is done before the base reaches your hands.
How much does it cost to start making soap?
For a melt and pour setup, you can get started for around $30 to $50, including a base, molds, and a few add-ins. A basic cold process kit with a scale, stick blender, lye, and oils typically runs $60 to $100 upfront. After the initial investment, each batch becomes quite affordable.
Can I sell the soap I make at home?
You can, but rules vary by location. Selling as a casual hobby is often manageable, though many regions have labeling and safety requirements once you sell to the public. Check your local regulations before turning your craft into a business, and keep detailed records of your recipes.
Start Your First Batch Today
You now have everything you need to go from curious to confident. The hardest part is simply beginning, and the melt and pour method makes that first step wonderfully easy.
Gather a few supplies this week, melt down a base, and pour your very first bar. When you're ready for the next level, come back to the cold process recipe and build something entirely your own.
Bookmark this guide so your recipes are always handy, and subscribe for more DIY soap making tutorials, seasonal scent ideas, and beginner-friendly projects. Then share a photo of your first batch, we'd love to see what you create.