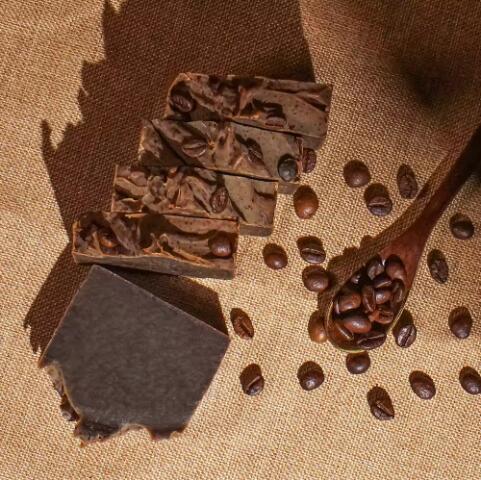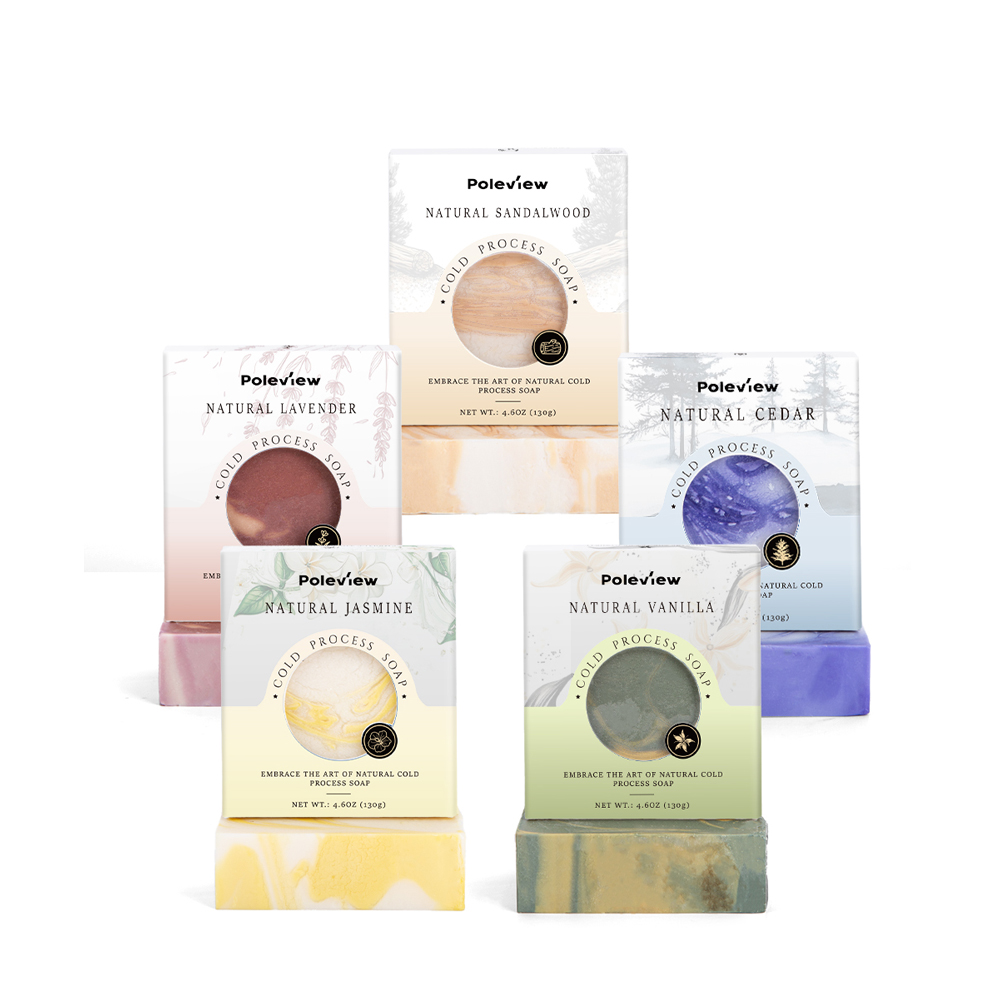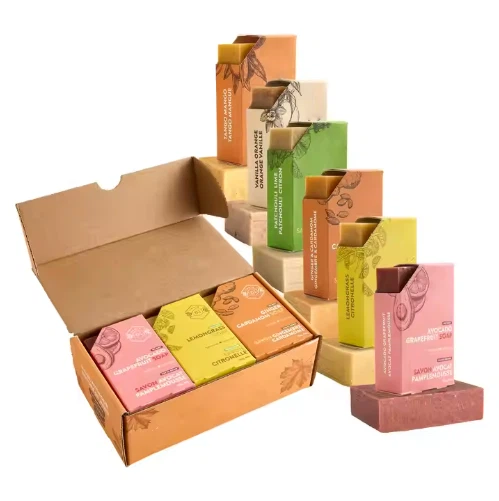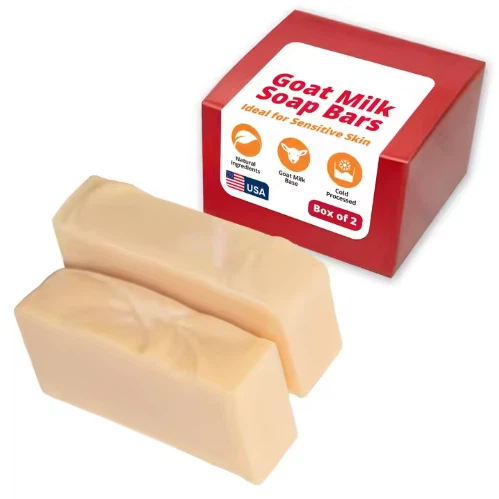

The first time you watch a thin, sunflower-yellow mix of oils and lye water suddenly thicken into something that leaves a trail across the surface — that's called "trace," and it's the moment your ingredients quietly become soap. It looks like magic. It's actually chemistry, and you can do it on your kitchen counter with the right precautions.
By the end of this guide, you'll know how to make a small, safe batch of cold process soap at home, from measuring lye to cutting your cured bars. Budget roughly 1–2 hours of active work, then a patient 4–6 week cure before the soap is ready to use.
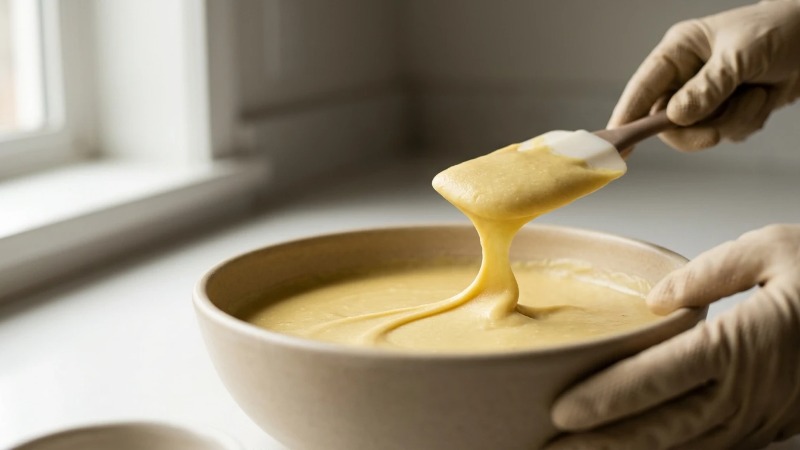
"From scratch" here means true saponification — building a bar from raw oils and lye — which is very different from melting a pre-made block (melt-and-pour). More control, more responsibility, and a far more rewarding result.
Key Takeaways
- Cold process soap = oils + lye, blended to trace and cured for 4–6 weeks.
- Safety is non-negotiable: goggles, gloves, ventilation, and always add lye to water — never water to lye.
- Weigh everything in grams. Volume measuring fails; precision protects your skin and your batch.
- Always run any recipe through a trusted lye calculator — oil ratios change the lye needed.
- Curing is what makes a bar mild and long-lasting, as excess water evaporates over weeks.
What Does "Making Soap From Scratch" Actually Mean?
Saponification is the chemical reaction where lye (sodium hydroxide) reacts with oils or fats to produce soap plus natural glycerin. In a properly formulated and fully cured bar, all the lye has reacted — there is no active lye left to touch your skin.
That last point trips up a lot of beginners: lye is caustic and dangerous in its raw state, but the finished, cured bar contains none of it. The soap you rinse with is the product of the reaction, not the raw chemical.
Cold Process vs. Hot Process vs. Melt-and-Pour
There are three common ways to make soap at home. The table below shows how they compare so you can pick the right starting point.
| Method | Difficulty | Cure Time | Ingredient Control | Best For |
|---|---|---|---|---|
| Cold Process | Moderate | 4–6 weeks | Full | Beginners wanting natural control |
| Hot Process | Moderate–High | Shorter; usable sooner | Full | People who want faster results |
| Melt-and-Pour | Easy | None | Limited | Kids and quick crafts |
This tutorial focuses on cold process soap because it gives you the fullest control over natural ingredients while staying beginner-friendly.
Before You Begin: Prerequisites & Safety First
You don't need chemistry experience to make soap. You do need two habits: measuring carefully and following steps in order. Rushing is where accidents happen.
Lye handling is the one part you cannot improvise. Sodium hydroxide generates heat and fumes when it meets water, so treat this section as mandatory reading, not a suggestion.
- Ventilate. Mix the lye solution near an open window or under a range hood, and briefly turn your face away from the initial fumes.
- Never use aluminum. Lye reacts with aluminum and produces hydrogen gas. Use stainless steel, heat-safe glass, or silicone.
- Always add lye TO water, never water to lye — reversing it can cause a violent, volcano-like eruption.
- Wear PPE: splash goggles, nitrile gloves, and long sleeves. Keep vinegar and running water nearby to neutralize and rinse minor splashes.
- Clear the room of children and pets while you work.
Once your bars are cured, do a small patch test before regular use, especially if you have sensitive skin. Cold process soap cleans and conditions — but it is not a medicine, so avoid treating any recipe as a cure for skin conditions.
Understanding Your Ingredients (INCI Basics)
Every oil brings a different quality to the finished bar. Learning a few key players helps you understand why recipes are balanced the way they are.
- Olive oil (INCI: Olea Europaea Fruit Oil) — gentle and conditioning, but slow to trace and soft on its own.
- Coconut oil (Cocos Nucifera Oil) — big, fluffy lather and hardness, but drying in high amounts.
- A "hard" fat such as shea butter or a palm alternative — adds firmness and longevity to the bar.
INCI (International Nomenclature of Cosmetic Ingredients) is the standardized naming system you'll see on soap labels worldwide. Learning to read it is the fastest way to judge transparency — a clear INCI list tells you exactly what's in a bar. Consistent, high-quality natural oils also mean fewer surprises from batch to batch, which is exactly why sourcing matters.
Tools & Materials Checklist
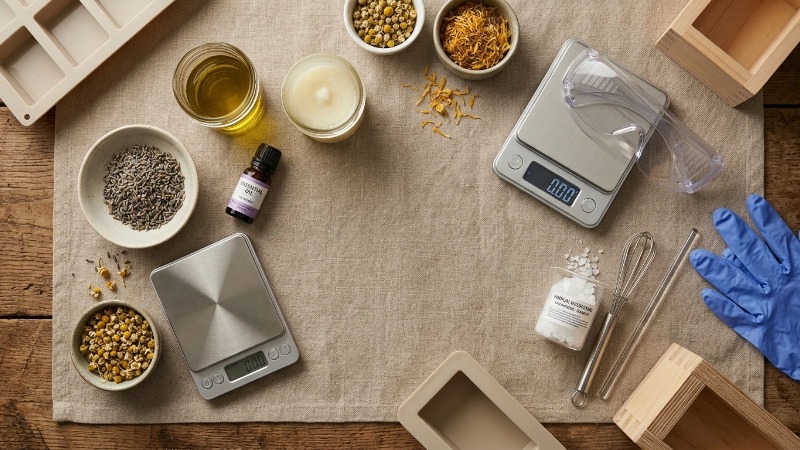
Set aside a dedicated set of non-food equipment for soap making. Lye and fragrance residues mean you should never return these tools to the kitchen rotation.
| Category | Items |
|---|---|
| Safety | Splash goggles, nitrile gloves, apron, long sleeves |
| Measuring | Digital scale (0.1g accuracy), thermometer |
| Mixing | Stainless or heat-safe bowls, stick (immersion) blender, silicone spatula |
| Molds | Silicone loaf mold or individual bar molds |
| Ingredients | Lye (NaOH), distilled water, base oils, optional skin-safe essential oils |
A Simple Beginner Recipe (with Measurements)
Here's a small, balanced starter batch that fits most silicone loaf molds. Weights are in grams because accuracy matters far more than convenience.
| Ingredient | Weight | Percentage of Oils |
|---|---|---|
| Olive oil | 300 g | 50% |
| Coconut oil | 180 g | 30% |
| Shea butter (or palm alternative) | 120 g | 20% |
| Distilled water | ~228 g | 38% of oils |
| Lye (NaOH) | ~83 g | ~5% superfat |
Critical caveat: the lye amount above is a rounded example. Always run your exact oils and weights through a trusted online lye (saponification) calculator before mixing. Different oils require different amounts of lye, and a "superfat" buffer of about 5% leaves a small amount of unsaponified oil to keep the bar gentle. Never guess.
Step-by-Step: How To Make Cold Process Soap
Step 1 — Prep Your Space and Suit Up
Clear the counter, lay down newspaper or a silicone mat, and open a window. Put on your goggles, gloves, and long sleeves before any container is opened. A tidy, ventilated space is your first safety layer.
Step 2 — Measure Everything by Weight
Set your digital scale to grams and weigh each oil, the water, and the lye separately. Volume measuring fails here because oils differ in density, and even small errors in the lye can leave a bar unsafe or oily. Precision is the whole game in natural soap making.
Step 3 — Mix the Lye Solution Safely
Slowly pour the lye into the distilled water — never the other way — while gently stirring. The solution will heat rapidly to around 90°C (about 200°F) and release fumes, so turn your face away and keep breathing to the side. Set it aside in a safe spot to cool.
Step 4 — Melt and Combine Your Oils
Gently melt your hard oils, then stir in the liquid oils. You want both the oils and the lye solution to reach a similar temperature — a common beginner target is roughly 38–43°C (100–110°F) for each. Matching temperatures gives you a smooth, predictable batch.
Step 5 — Blend to "Trace"
Pour the cooled lye solution into the oils and blend with your stick blender in short bursts. "Trace" is when the mixture thickens enough that drizzled batter leaves a visible trail on the surface.
- Light trace — thin, like pourable custard; best for detailed designs.
- Medium trace — like warm pudding; ideal for most beginners.
- Thick trace — mashed-potato texture; good for rustic tops.
[Image placeholder: side-by-side comparison of light, medium, and thick trace]
Step 6 — Add Fragrance, Color, and Extras
At light-to-medium trace, stir in any skin-safe essential oil soap fragrance, natural colorants (like clays), or gentle exfoliants. Follow established usage-rate guidelines from a reputable fragrance or industry safety reference rather than eyeballing it — too much essential oil can irritate skin. Some fragrances speed up trace, so have everything ready before you add them.
Step 7 — Pour Into the Mold
Pour the batter into your silicone mold, then firmly tap the mold on the counter a few times to release trapped air bubbles. Smooth or texture the top with your spatula as you like.
Step 8 — Insulate and Wait 24–48 Hours
Cover the mold and wrap it in a towel to retain heat, which encourages an even "gel phase." After 24–48 hours the soap should feel firm and pull cleanly away from the mold. If it's still soft, give it another day.
Step 9 — Cut and Cure (4–6 Weeks)
Unmold the loaf and cut it into bars. Then set them on a rack in a cool, airy spot for 4–6 weeks. Curing lets excess water evaporate, which makes the bar harder, milder, and much longer-lasting in the shower.
[Image placeholder: cut bars curing on a wooden rack with airflow]
Troubleshooting Common Soap-Making Problems
Even a careful first batch can misbehave. Use this quick reference to diagnose and fix the most common issues in DIY soap making.
| Problem | Likely Cause | Fix |
|---|---|---|
| Soap won't reach trace | Temperature too low or high olive-oil content | Warm slightly and keep blending in short bursts |
| "Ricing" or seizing | Fragrance reacting with the batter | Work fast, switch to hand-stirring, and pour immediately |
| White powder on top | Soda ash (a harmless surface reaction) | Cosmetic only; steam gently or trim the surface |
| Oily or lye pockets | Poor mixing or a measuring error | Do not use the batch; discard safely, remeasure, and start over |
When to Buy vs. When to DIY
Making your own soap is genuinely satisfying, and it's the best way to understand what's really in a bar. But be honest with yourself about the trade-offs: it's time-intensive, requires careful lye handling, and every new recipe needs testing.
For a weekend hobby or a personalized gift, DIY wins. For gifting at volume, private-label retail, or consistent quality across hundreds of bars, sourcing from a certified manufacturer is far more practical — and safer, since you skip the lye entirely.
If that's your goal, Poleview Biotechnology Co., Ltd. is a factory-direct handmade soap maker offering custom natural formulations with low minimum order quantities. Their production is backed by GMPC and ISO 22716 certifications, so you get the craft of handmade soap without doing the caustic chemistry yourself.
Frequently Asked Questions
Is homemade soap safe if it contains lye?
Yes — when a recipe is correctly formulated and fully cured, saponification converts all the lye, so no active sodium hydroxide remains in the finished bar. The danger exists only while handling raw lye, which is why PPE and careful measuring matter.
How long does soap need to cure?
Cold process soap typically cures for 4–6 weeks. During this time water evaporates and the bar becomes harder, gentler, and longer-lasting.
Can I make soap without lye?
Not true soap "from scratch." Every real bar is created by lye reacting with oils. Melt-and-pour bases skip the lye step for you, but they were still made with lye during manufacturing — you're just remelting a finished base.
What oils are best for beginners?
A balanced blend of olive oil (gentleness), coconut oil (lather and hardness), and a hard fat like shea butter (longevity) is forgiving and reliable for a first homemade soap recipe.
How should I store handmade soap?
Keep bars in a cool, dry, well-ventilated spot away from direct sunlight. Between uses, let each bar drain on a rack so it dries out and lasts longer.
Conclusion & Next Step
You've now followed the full journey — from weighing oils, to mixing lye safely, to watching that first trace form, to cutting and curing a finished bar. The cold process soap method rewards patience and precision more than any special talent.
Start small. One simple batch teaches you more than any amount of reading, and the 4–6 week wait makes that first shower with your own soap surprisingly memorable.
Ready to gift or sell soap at scale without handling lye? Contact Poleview Biotechnology Co., Ltd. for free design, fast prototyping, and factory-direct natural handmade soap — quality bars built to your specifications, delivered on time. Tell us your requirements today.