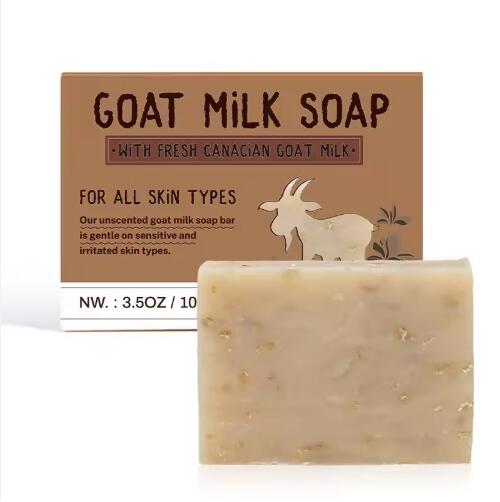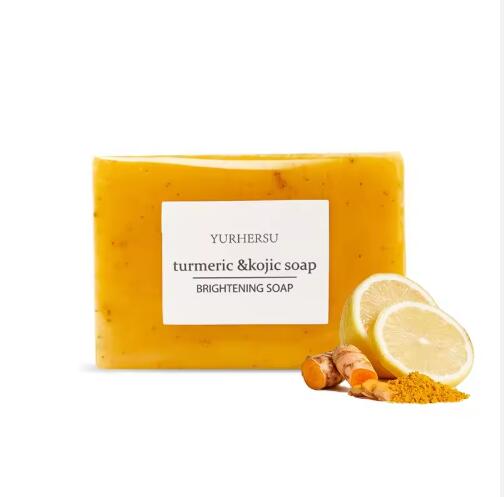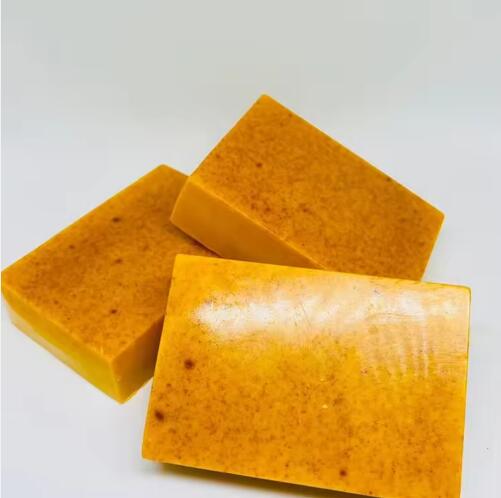

A single bar of handmade soap can replace two to three plastic bottles of liquid body wash over its lifespan, and the shift toward solid, low-waste bathroom products has moved from niche to mainstream in the last few years. If your bathroom shelf is crowded with pump bottles you toss every month, making your own soap is a satisfying way to cut plastic and control exactly what touches your skin.
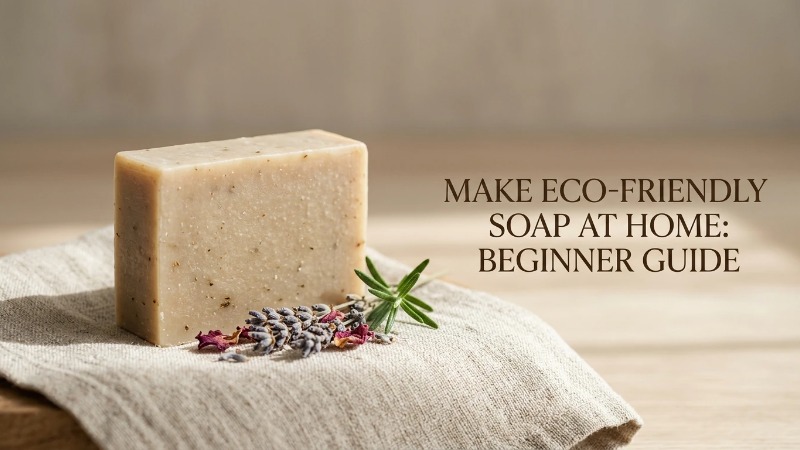
In this guide you'll learn how to make a clean, plant-based bar from scratch using the cold-process method, plus a faster beginner alternative that skips raw lye handling. Plan on about 60–90 minutes of active work and a 4–6 week cure. The skill level is beginner-friendly, as long as you respect a few safety rules.
- Core method: Combine plant oils with a lye solution, blend to "trace," add natural extras, pour into molds, then cut and cure for 4–6 weeks.
- Beginner shortcut: Use a pre-made melt-and-pour base to avoid handling raw lye entirely.
- Safety essentials: Gloves, goggles, good ventilation, and a patch test before regular use.
- Eco upgrades: Choose biodegradable, plant-based oils; certified sustainable palm (or none); and plastic-free packaging.
- Time reality: Cold process needs patience — the cure period is what makes the bar mild and long-lasting.
What Counts as "Eco-Friendly" Soap? (Quick Answer)
Eco-friendly soap is soap made with biodegradable, plant-based, and cruelty-free ingredients, produced with minimal waste and packaged with little or no plastic. In practice that means swapping petroleum-derived surfactants and synthetic additives for natural oils, and keeping the wrapper compostable or reusable.
There's an important distinction between real cold-process soap and a melt-and-pour base. True soap is made through saponification — a chemical reaction between oils and lye. A melt-and-pour base is soap that a manufacturer already saponified for you; you simply melt it, customize it, and re-set it.
Cold Process vs. Melt-and-Pour vs. Hot Process
| Method | Difficulty | Active Time | Raw Lye Handling | Customization |
|---|---|---|---|---|
| Cold Process | Intermediate | 60–90 min + 4–6 week cure | Yes | Very high — full control of oils, scent, color |
| Melt-and-Pour | Beginner | 30–45 min + a few hours to set | No | Moderate — scent, color, add-ins only |
| Hot Process | Intermediate | 2–3 hours + short cure | Yes | High — rustic texture, faster to use |
For most first-timers, melt-and-pour is the gentlest on-ramp. Cold process rewards patience with a smoother, longer-lasting bar and complete ingredient control.
The Truth About "Soap Without Lye"
You'll see the search "homemade organic soap without lye" a lot, so here's the honest answer: all real soap requires lye to happen. Saponification is the reaction of fats with sodium hydroxide (for bars) or potassium hydroxide (for liquid soap). There is no soap on earth made without it.
What beginners can do is avoid handling raw lye by using a melt-and-pour base. The lye reaction was already completed and neutralized during manufacturing, so no free lye remains in the finished base. That's the safe, accurate way to make soap without touching the caustic chemical yourself.
Before You Start: Outcome and Prerequisites
A standard beginner cold-process batch yields roughly 6–8 full-size bars (about 900g / 2 lbs of oils). You'll be able to unmold in 24–48 hours, cut soon after, then wait 4–6 weeks before the bars are ready to use.
Prerequisites are simple but non-negotiable: a well-ventilated workspace, no kids or pets underfoot, no distractions while working with lye, and dedicated equipment you won't reuse for food. Read the whole recipe once before you begin.
Safety First: Handling Lye and Patch Testing
Lye is caustic and can cause burns. Always wear nitrile gloves and splash-proof goggles, work near an open window or under a range hood, and keep vinegar nearby to neutralize accidental spills on surfaces.
Once your soap has cured, do a patch test before using it regularly: rub a little lather on your inner forearm and wait 24 hours to check for irritation. This is general guidance, not medical advice — if you have a skin condition or known allergies, check with a qualified professional before trying new ingredients.
Tools and Materials You'll Need
Gather everything before you start so you're not searching mid-pour. Keep soap-making tools separate from kitchen tools.
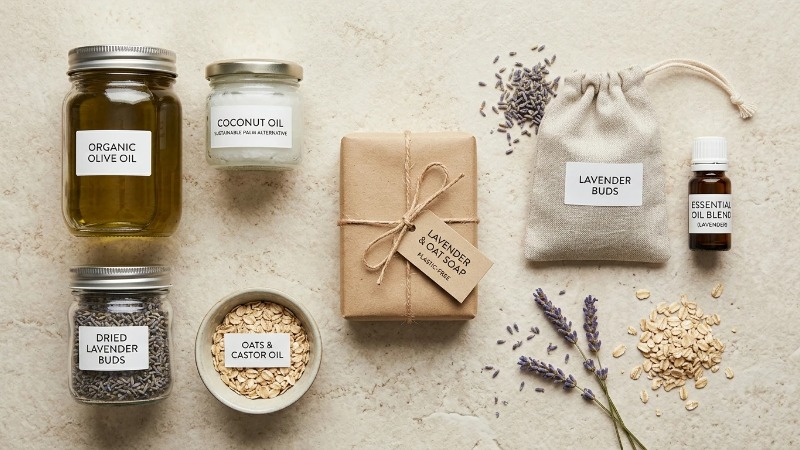
Equipment Checklist
- Digital kitchen scale (accurate to 1g)
- Immersion/stick blender
- Silicone loaf mold or individual molds
- Thermometer (an infrared or candy thermometer works)
- Heat-safe containers for oils and lye solution
- Silicone spatula and stainless-steel spoon
- Safety gear: nitrile gloves, goggles, long sleeves
Natural Soap Making Ingredients
Your base oils determine how the bar feels, lathers, and lasts. Each oil has a different fatty-acid profile, so most recipes blend several. The percentages below are typical starting ranges for a balanced bar.
| Base Oil / Butter | What It Brings | Typical Usage |
|---|---|---|
| Olive oil | Mild, conditioning, gentle lather | 30–50% |
| Coconut oil | Hard bar, big bubbly lather (drying if too high) | 20–30% |
| Shea butter | Creamy feel, adds hardness and conditioning | 5–15% |
| Castor oil | Boosts and stabilizes lather | 3–6% |
| Sustainable palm oil (RSPO) | Hardness and stable lather | 0–25% (optional) |
These plant oils are the foundation of a biodegradable soap base — they break down naturally in the environment far better than petroleum-derived synthetic detergents. Always run any recipe through a trusted online lye calculator, because each oil needs a specific amount of lye to saponify correctly.
Choosing Essential Oils for Soap
Essential oils add natural scent, but more is not better. A common safe range is about 3% of your total oil weight, and some oils (like cinnamon or clove) should be used far lower because they can irritate skin.
Lavender, sweet orange, and peppermint are forgiving choices for beginners. Check reputable usage-rate references (such as IFRA guidance) and avoid essential oils entirely if you're making soap for infants or anyone with fragrance sensitivities.
Step-by-Step: Cold Process Eco-Friendly Soap Recipe
Follow these steps in order. Don't rush the lye stages, and keep your gear on until cleanup is done.
Step 1: Measure and Prepare Your Ingredients
Weigh every oil, plus the lye and water, on your digital scale — never measure by volume. Saponification depends on exact ratios; too much lye makes a harsh, unsafe bar, and too little leaves it greasy. Set out your molds and additives now.
Step 2: Mix the Lye Solution Safely
With gloves and goggles on, always add lye to the water — never water to lye, which can erupt. Stir gently until dissolved; the solution will heat quickly and release fumes, so keep your face back and the room ventilated. Let it cool to roughly 38–43°C (100–110°F).
Step 3: Heat and Combine the Oils
Melt your solid oils and butters, then stir in the liquid oils. Aim for a similar temperature to your lye solution, around 38–43°C, so the two mix smoothly without seizing or separating.
Step 4: Blend to Trace
Slowly pour the lye solution into the oils, then pulse with your stick blender. "Trace" is when the mixture thickens enough that a drizzle across the surface leaves a faint trail, like thin pudding. [Photo placeholder: batter at light trace showing a visible trail.]
Stop at light-to-medium trace for beginners — over-blending can thicken it too fast to pour cleanly.
Step 5: Add Essential Oils, Colorants, and Extras
At trace, stir in your essential oils and any natural additives: a spoonful of colloidal oatmeal for gentle texture, French clay for color and slip, or dried botanicals like calendula. Keep add-ins modest — a tablespoon or two per pound of oils is plenty.
Step 6: Pour, Insulate, and Set
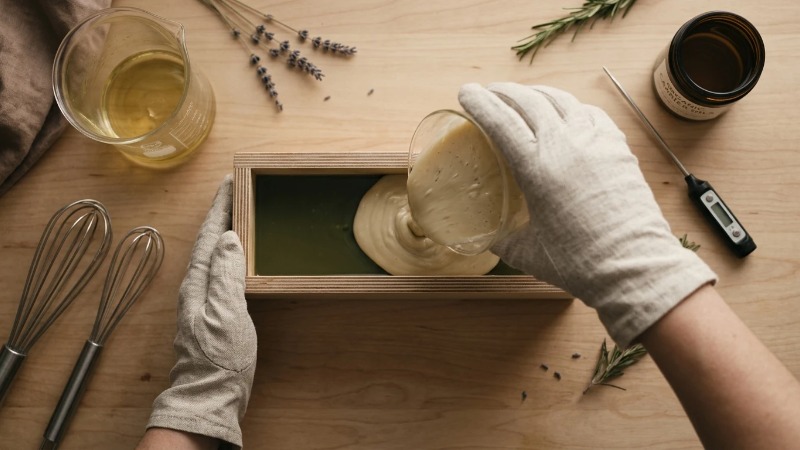
Pour the batter into your mold and tap it on the counter to release air bubbles. Cover and wrap it in a towel to hold heat, which helps the bar go through "gel phase" for an even finish. Leave it undisturbed for 24–48 hours.
Step 7: Cut and Cure
Once firm, unmold and cut into bars. Then cure them on a rack in a cool, airy spot for 4–6 weeks, turning occasionally. Curing lets excess water evaporate and the pH mellow, producing a harder, milder, longer-lasting bar — this waiting period is the single biggest quality factor for a beginner.
Beginner-Friendly Alternative: Melt-and-Pour Method
Nervous about lye? This route lets you make a custom bar in an afternoon with no caustic handling.
- Cut a plant-based melt-and-pour base (glycerin, shea, or goat-milk style) into small cubes.
- Melt gently in short microwave bursts or a double boiler until liquid.
- Stir in essential oils and natural colorant once slightly cooled.
- Pour into molds and spritz the surface with rubbing alcohol to pop bubbles.
- Let set 1–3 hours, unmold, and use right away — no long cure needed.
Troubleshooting Common Soap-Making Problems
| Problem | Likely Cause | Fix |
|---|---|---|
| Batter won't reach trace | Temperatures too low or high-olive recipe | Keep blending in bursts; be patient with olive-heavy blends |
| Lye pockets (caustic spots) | Undissolved lye or under-mixing | Discard the batch if pockets remain; always mix to full trace |
| Crumbly, dry texture | Too much lye or overheated | Recheck measurements with a lye calculator next time |
| Fading scent | Essential oils used too low or not fixed | Use robust oils (patchouli, litsea) at recommended rates |
| White powder on top | Soda ash (cosmetic only) | Steam or rinse the surface; harmless |
How to Make Your Soap Genuinely Sustainable
The recipe is only half the eco story. How you source and wrap your bars matters just as much.
Sourcing Responsible Ingredients (RSPO Palm, Local Oils)
If you use palm oil, look for RSPO-certified sustainable palm to avoid contributing to deforestation — or leave it out and rely on coconut and shea for hardness. Buying oils grown closer to home cuts transport emissions, and choosing suppliers that publish their sourcing standards helps you avoid greenwashing.
Plastic-Free Packaging Ideas
Wrap finished bars in recycled kraft paper tied with twine, tuck them into reusable tins, or use compostable cellulose film. A simple paper band with the ingredient list keeps things transparent and landfill-friendly.
Homemade vs. Buying from a Factory: What Makes Sense for You
DIY is ideal for small personal batches, learning the craft, and gifting a few bars. You control every ingredient and enjoy the process — but consistency, volume, and shelf-stability get harder as demand grows.
If you're outgrowing the kitchen — planning wedding favors at scale, launching a small brand, or reselling — a certified manufacturer becomes the practical choice. When comparing suppliers, treat certifications like ISO 22716 (cosmetics good manufacturing practice) and GMPC as baseline quality benchmarks, since they signal controlled, hygienic, repeatable production that a home kitchen can't match.
| Factor | Homemade | Certified Manufacturer |
|---|---|---|
| Best for | Personal use, gifts, learning | Bulk, private label, retail |
| Batch consistency | Varies | Highly consistent |
| Cost per bar at scale | Higher | Lower |
| Compliance & testing | Self-managed | Certified (ISO 22716, GMPC, etc.) |
Key Takeaways
- Real eco-friendly soap uses biodegradable plant oils, cruelty-free formulation, and minimal packaging.
- All genuine soap needs lye — beginners can skip handling it with a melt-and-pour base.
- Cold process delivers the best bar but requires a 4–6 week cure.
- Safety gear, ventilation, and a post-cure patch test are essential every time.
- Choose RSPO palm (or none) and plastic-free wrap to make your bars truly sustainable.
Frequently Asked Questions (FAQ)
Is homemade soap actually better for the environment?
It can be, when you use biodegradable plant oils, sustainable sourcing, and plastic-free packaging. A solid bar also eliminates the plastic bottles that liquid washes rely on, though the eco benefit depends entirely on your ingredient and packaging choices.
How long does eco-friendly soap last?
A well-cured cold-process bar typically lasts 4–6 weeks of daily use, longer if you keep it on a draining dish so it dries between showers. Harder recipes (higher coconut or palm) tend to last longer.
Can I make soap without using lye at all?
You can't make soap without lye being involved somewhere, because saponification requires it. What you can do is use a pre-made melt-and-pour base so you never handle raw lye yourself — the reaction was completed safely during manufacturing.
Is DIY soap safe for sensitive skin?
It can be gentle if you use mild oils, keep fragrance low or omit it, and cure the bar fully. Always patch-test first, and consult a qualified professional if you have a diagnosed skin condition — this article is general guidance, not medical advice.
How much does it cost to make your own soap?
Startup equipment runs modest, and ingredient cost for a beginner batch usually works out to a few dollars per bar. Per-bar cost drops with larger batches, but rarely beats bulk manufacturing at real volume.
Ready to Go Bigger?
If your hobby is turning into a side hustle — or you need hundreds of consistent, certified bars for gifts, private label, or retail — it may be time to move beyond the home kitchen. Poleview Biotechnology Co., Ltd. offers factory-direct supply, thousands of stable natural soap formulations, flexible minimum order quantities, free design with fast prototyping, and on-time delivery, all backed by certifications including ISO 22716 and GMPC.
Tell us what you want to create, and our R&D and service team will help you scale from kitchen batch to shelf-ready product. Reach out today to discuss your custom soap requirements and get a quote.