Turning a batch of homemade soap into a real product line is one of those journeys that feels equal parts exciting and overwhelming. You start in your kitchen with a few oils and a mold, and before long you're wondering how to make a hundred bars that look identical every single time.
This guide walks you through the full path, from understanding the chemistry to running your first cold process batch, then scaling into a sellable brand. It's written for entrepreneurs and small business owners who want practical steps, not theory.
Understanding How Bar Soap Is Actually Made
Before you touch a single oil, it helps to know what's happening inside the pot. Soap isn't just oil that's been perfumed and hardened. It's the product of a genuine chemical reaction, and the method you choose shapes both your product and your business model.
The Science of Saponification (Oils + Lye)
All real soap starts with saponification, the reaction that happens when fats or oils meet a strong alkali. In bar soap, that alkali is sodium hydroxide, commonly called lye.
When oils and lye combine in the right proportions, they transform into soap and glycerin. The reaction consumes the lye entirely, converting it into something gentle enough to wash your skin.
Here's the part that calms most beginners: a properly made, fully cured bar contains no raw lye at all. The saponification of oils and lye is complete by the time your bar is ready to use, which is exactly why accurate measurement matters so much.
Cold Process vs. Hot Process vs. Melt-and-Pour
There are three common routes to a finished bar. Each suits a different skill level and goal, so pick based on where you are right now.
| Method | Difficulty | Cure Time | Best For |
|---|---|---|---|
| Melt-and-Pour | Easy | None | First-timers, quick testing |
| Cold Process | Moderate | 4–6 weeks | Custom recipes, artisan brands |
| Hot Process | Moderate | 1–2 weeks | Faster turnaround, rustic look |
Melt-and-pour uses a pre-made base you simply melt, color, and pour, which makes it perfect for testing scents and ideas. Hot process uses external heat to speed up saponification, giving you a usable bar sooner with a rugged, textured finish.
Why Cold Process Is the Entrepreneur's Favorite
Cold process soap making dominates the handmade market for good reason. You control every ingredient from scratch, which means full creative freedom over recipe, texture, scent, and look.
That control also unlocks premium positioning. Customers pay more for bars they perceive as crafted, natural, and unique, and cold process delivers exactly that story.
Just as important, natural soap recipes for beginners scale beautifully. A formula you perfect at four bars can usually grow to forty or four hundred with the same core method, which makes it the smartest foundation for a business.
Gathering Your Bar Soap Production Equipment and Ingredients
Good prep prevents most beginner disasters. Before your first batch, gather everything so you're never scrambling mid-process with lye in the mix.
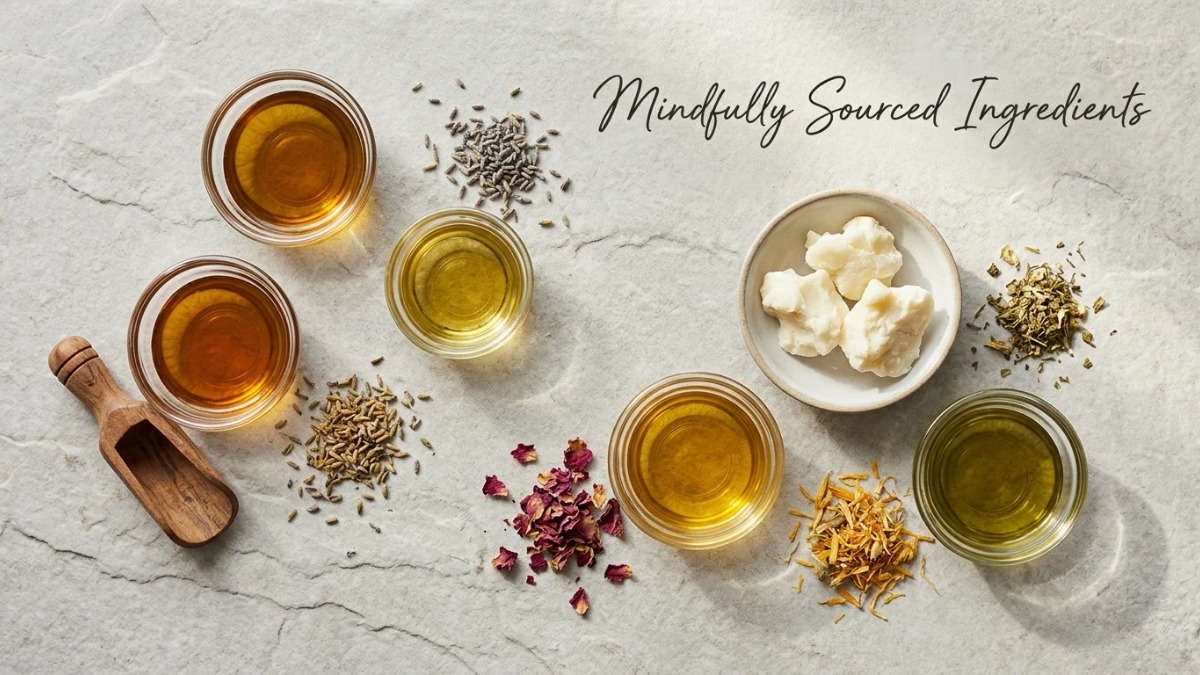
Essential Bar Soap Production Equipment
You don't need a lab, but a few items are non-negotiable, especially anything tied to safety and accuracy. Keep all soap-making tools separate from your kitchen cookware.
| Equipment | Purpose | Approx. Starter Cost (USD) |
|---|---|---|
| Digital scale | Precise measurement | $15–30 |
| Immersion blender | Reaching "trace" | $20–40 |
| Stainless/heat-safe containers | Mixing lye and oils | $20–50 |
| Silicone molds | Shaping bars | $10–35 |
| Thermometer | Temperature control | $10–20 |
| Safety gear (goggles, gloves) | Lye protection | $15–25 |
The digital scale is the single most important tool. Soap recipes work by weight, not volume, and even small measurement errors can throw off the lye balance and ruin a batch.
Core Oils and Their Properties
Every oil brings a different quality to the finished bar. Blending them thoughtfully is how you dial in hardness, lather, and skin feel.
| Oil | Primary Contribution | Notes |
|---|---|---|
| Coconut oil | Hardness and big, bubbly lather | Use in moderation to avoid dryness |
| Olive oil | Gentle, conditioning bar | The backbone of classic mild soaps |
| Palm oil (or substitute) | Hardness and stable lather | Choose sustainably sourced options |
| Shea butter | Creamy, moisturizing feel | Adds a luxurious touch in small amounts |
| Castor oil | Boosts and stabilizes lather | A little goes a long way, around 5% |
Most balanced recipes combine a hard oil, a conditioning oil, and a lather booster. That trio gives you a bar that's firm, cleansing, and pleasant on the skin.
Choosing Additives, Colorants, and Essential Oils for Soap Fragrance
Additives are where your brand personality shows up. Natural colorants like clays, spirulina, and activated charcoal give earthy, authentic tones, while gentle exfoliants like oatmeal or poppy seeds add texture.
For scent, essential oils for soap fragrance are the go-to for natural lines. Popular choices include lavender, peppermint, tea tree, and citrus blends.
Always respect usage rates. Most essential oils sit safely around 2 to 3 percent of your oil weight, and overdoing it can cause skin irritation rather than a stronger scent. When in doubt, check the supplier's recommended maximum for skin-contact products.
The Step-by-Step Cold Process Soap Making Process
This is the heart of the tutorial. Follow it in order, and don't rush the safety steps, because working with lye demands respect.
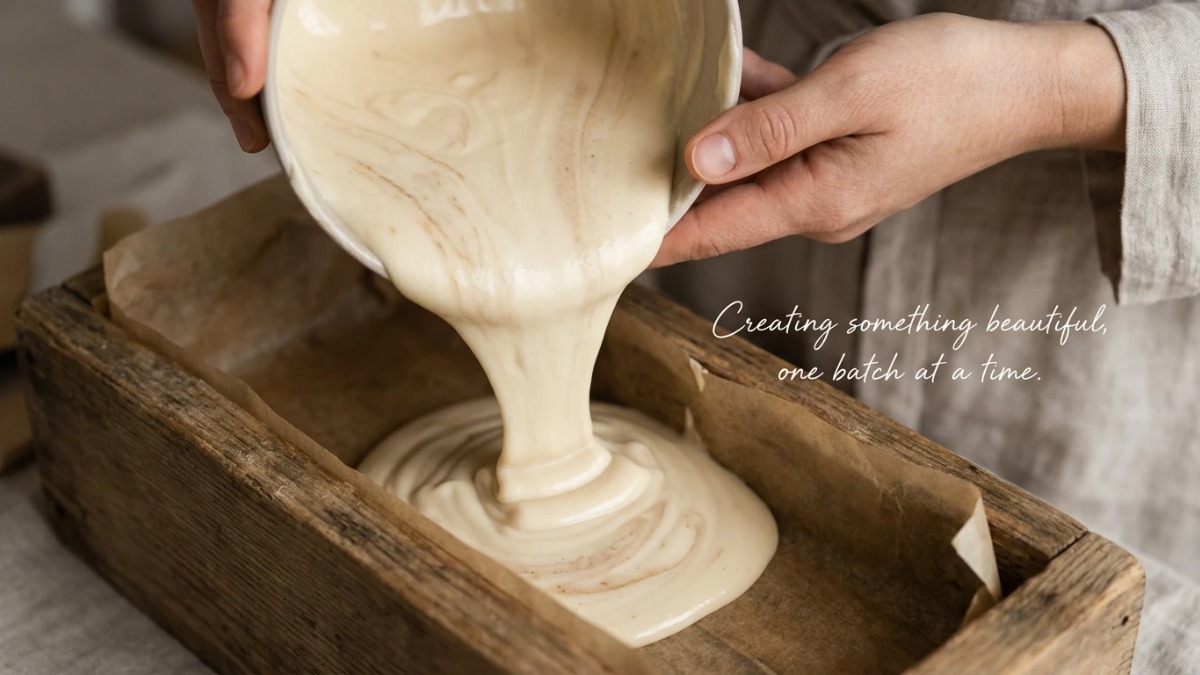
Step 1: Safety Setup and Workspace Prep
Choose a well-ventilated space, ideally near an open window or under a range hood. Lye releases fumes when it meets water, so airflow matters.
Put on your goggles and gloves before anything else, and wear long sleeves. Keep children and pets out of the room entirely until you're finished and cleaned up.
Step 2: Measuring and Mixing the Lye Solution
Weigh your water and lye separately on your digital scale. Precision here is what keeps your finished soap safe and balanced.
Now the golden rule: always add lye to water, never water to lye. Pouring water onto lye can trigger a violent, volcano-like reaction. Slowly sprinkle the lye into the water while stirring, then set it aside to cool.
Step 3: Heating and Combining the Oils
Melt your hard oils and butters gently, then stir in your liquid oils. You want both your oils and your lye solution to land in a similar temperature range, roughly 90 to 110°F (32 to 43°C).
Matching temperatures gives you a smoother, more predictable batch. Use your thermometer and be patient. Waiting a few extra minutes beats rushing into a seized mess.
Step 4: Blending to Trace
Pour the lye solution into the oils, then work your immersion blender in short pulses. Soon the mixture thickens into what soapmakers call "trace."
- Light trace: thin, like runny custard, ideal for intricate swirls and layered designs.
- Medium trace: like pudding, good for most standard pours and simple color work.
- Thick trace: like thick batter, best for rustic textures and heavy add-ins.
Stop blending once you hit the trace you need for your design. Over-blending can push you to thick trace faster than you expect.
Step 5: Adding Fragrance, Color, and Pouring the Mold
At light or medium trace, stir in your colorants and fragrance. Work efficiently, because some fragrances accelerate the batter and can cause it to seize.
Pour into your mold, tap it gently on the counter to release air bubbles, and smooth the top. If you're layering colors, pour each at the right trace to keep the lines crisp.
Step 6: Curing Homemade Bar Soap
After 24 to 48 hours, unmold and cut your bars. Then comes the step beginners underestimate most: curing homemade bar soap for 4 to 6 weeks.
Curing lets excess water evaporate, which hardens the bar, mellows the pH, and makes it last far longer in the shower. Skipping this step gives you soft, short-lived bars that disappoint customers.
Here's a simple curing checklist:
- Place bars on a rack with space between them for airflow.
- Keep them in a cool, dry, well-ventilated area out of direct sunlight.
- Flip them every week or so for even drying.
- Label each batch with the date so you know when they're ready.
Scaling From Homemade Batches to Bar Soap Manufacturing
Making a great bar is one thing. Making thousands, consistently and profitably, is a completely different challenge, and this is where many founders hit a wall.
Signs You've Outgrown DIY Production
A few clear symptoms tell you it's time to rethink your setup. Watch for these:
- Batches that look and smell slightly different every time.
- Orders you can't fill because your kitchen has a hard capacity ceiling.
- Spending more time stirring pots than growing the business.
- Curing racks overflowing and nowhere left to store inventory.
If you're nodding along, your demand has outgrown your homemade workflow. That's a good problem, but it needs a plan.
The Real Costs of In-House Bar Soap Manufacturing
Scaling in-house means investing in industrial equipment, more space, staff, and compliance testing. It's a serious commitment, so go in with realistic expectations.
| Cost Factor | DIY / Small Batch | In-House Scale-Up |
|---|---|---|
| Equipment investment | Low | High |
| Labor hours per unit | High | Moderate |
| Consistency control | Variable | Requires QC systems |
| Regulatory testing | Owner-managed | Dedicated resources |
The jump from a hobby kitchen to a compliant production facility can tie up significant capital. For many founders, that money is better spent on marketing and growth than on machinery.
The OEM/ODM Alternative
There's a third path that sidesteps the capital-heavy factory route entirely: contract manufacturing. It lets you scale bar soap production without buying a single piece of industrial equipment.
The two main models are OEM and ODM. With OEM (Original Equipment Manufacturer), the factory produces soap using your recipe. With ODM (Original Design Manufacturer), you build on the factory's existing formulations and sell them under your own brand.
Working With a Private-Label Soap Manufacturer Like Poleview
This is where a partner like Poleview Biotechnology Co., Ltd. comes in. Based in China, Poleview is a professional personal care products manufacturer specializing in soap OEM and ODM orders.
They support a high degree of customization, maintain strong product quality, and offer competitive pricing. For founders who want to launch a private-label line without building a factory, that combination makes them a practical option to keep on your shortlist.
Building Your Bar Soap Brand
A great bar of soap is only half the business. Turning it into something customers actively choose takes brand thinking.
Formulating a Signature Product
Your recipe, scent, and positioning should all point at the same customer. A calming lavender-and-oatmeal bar speaks to one audience. A bold charcoal-and-mint bar speaks to another.
Pick a lane and let it guide every choice. A signature product with a clear identity is far easier to market than a scattered lineup that tries to please everyone.
Packaging, Labeling, and Compliance Basics
Packaging protects your bar and tells your story on the shelf. At a minimum, most markets expect a clear ingredient list, net weight, and manufacturer information.
Labeling rules vary by region, so check your local requirements before you sell. Some markets treat certain soaps as cosmetics with stricter disclosure standards. It's worth confirming early rather than reprinting labels later.
Sourcing and Customization Through a Manufacturing Partner
Once demand grows, a high-customization manufacturing partner smooths out the bumps. Partners like Poleview can help with formulation tweaks, custom packaging, and scaling volume without the friction of retooling your own setup.
That means you can focus on selling and brand-building while the production side flexes with your orders. It's a low-friction way to grow, especially when you're moving from hundreds of bars to thousands.
Frequently Asked Questions
How long does bar soap need to cure before selling?
Cold process bars typically need a 4 to 6 week cure before they're ready to sell. Curing hardens the bar, balances its pH, and helps it last longer, so selling too early leads to soft bars and unhappy customers.
Is homemade soap production profitable for a small business?
It can be, but margins depend heavily on scale. Handmade batches carry high labor costs per bar, so profit is tight until you either raise prices for a premium artisan brand or reduce per-unit costs. Once volume climbs, outsourced manufacturing often protects margins better than making every bar by hand.
At what order volume does OEM/ODM manufacturing make sense?
The tipping point usually arrives when in-house labor and capacity can no longer keep up with orders, often in the low thousands of units per run. If you're consistently selling out, turning down orders, or drowning in production time, partnering with a manufacturer typically beats scaling your own facility.
Can I keep my recipe if I switch to a contract manufacturer?
Yes. Under an OEM arrangement, the manufacturer produces your existing formula to your specifications. You can also request customization, and a flexible partner will work with you to adjust the recipe, scent, or ingredients while keeping the essence of your original bar.
What's the difference between OEM and ODM for soap?
OEM means the factory makes soap based on your recipe and specifications, so you own the formula. ODM means you adopt the manufacturer's existing formulation and sell it under your brand. For example, bringing your grandmother's honey-oat recipe to a factory is OEM, while choosing a ready-made goat milk formula and adding your own label is ODM.